The Definitive Guide to Tennis Court Crack Repair
Estimated reading time: 3 minutes
The Definitive Guide to Tennis Court Crack Repair
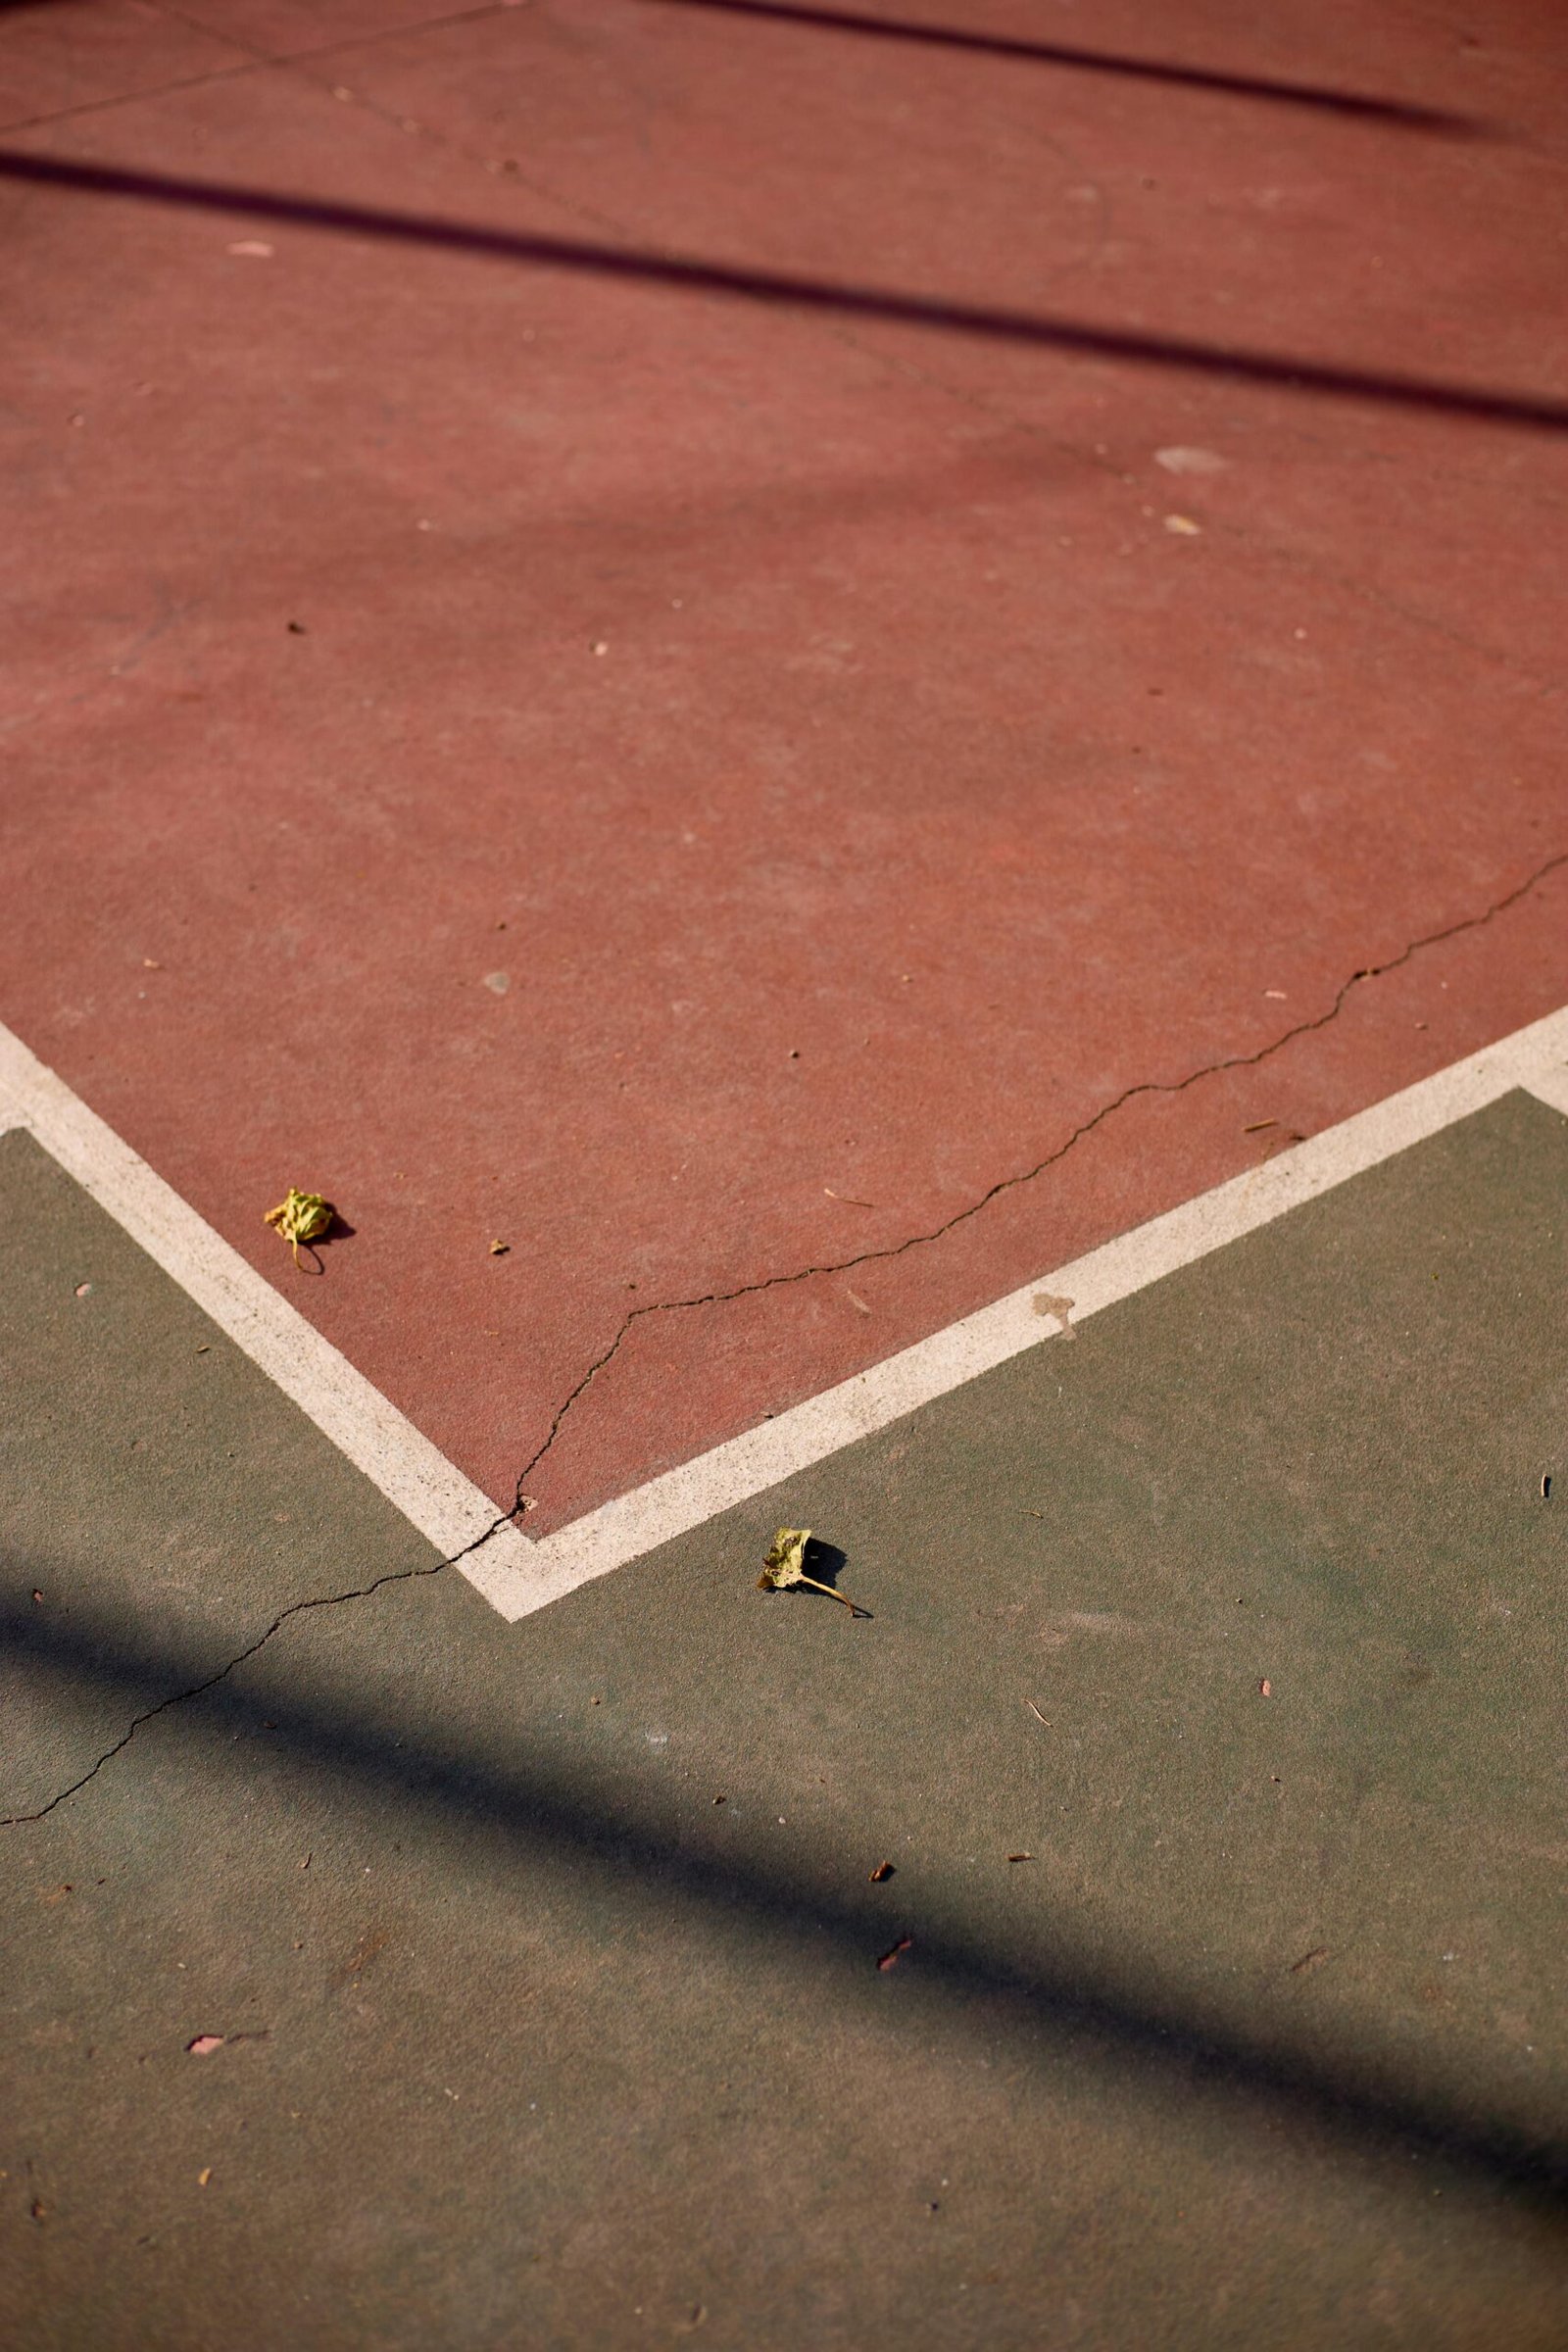
Maintaining a high-quality playing surface requires consistent crack maintenance. If you ignore small cracks, moisture can eventually seep through the surface and reach the court foundation. Consequently, this leads to asphalt heave, base erosion, and expensive structural damage. Therefore, proactive repair is the most effective way to protect your facility. In this guide, we walk through the professional steps to assess, prepare, and seal your court correctly.
Step 1: Assess the Damage
Before you begin, you must identify the type of cracks on your surface. Specifically, narrow hairline cracks are standard fatigue cracks that occur as asphalt ages. Conversely, wider gaps or expansion joints indicate slab movement. For standard cracks, a silica-fortified high-solids filler is required. Furthermore, for joints that move with the seasons, you should use an elastomeric flexible filler.
Step 2: Technical Preparation
Most repair failures happen because of poor preparation. To ensure a lasting bond, you must clean the area thoroughly. Specifically, remove all vegetation, loose dirt, and oxidized asphalt from the crack. Additionally, ensure the area is completely dry. Because these products are acrylic-based, they will not adhere to wet or dirty surfaces. As a result, improper cleaning will cause the repair to pop out during the next freeze-thaw cycle.
Step 3: Choose the Right Material
Selecting the correct product is vital for a durable fix. Our Advantage line provides specific solutions for different needs:
- For Small DIY Fixes: The 1-Gallon Crack Repair is perfect for individual touch-ups.
- For Large-Scale Maintenance: The 5-Gallon Pail provides bulk value for contractors and facility managers.
- For Active Joints: Tennis Court Crack Flex is a pourable, elastomeric solution designed for expansion joints.
Note that our 1-gallon and 5-gallon fillers are high-solids products. Specifically, they are heavily fortified with sand and fiber, meaning they are not pourable and will not self-level.
Step 4: Professional Application Technique
Once the crack is clean, you must apply the material correctly. For the 1-gallon and 5-gallon fillers, use a flexible handheld scraper or drywall scraper. Specifically, you must pack the material firmly into the crack to eliminate air pockets. Air voids are the primary cause of material settlement and secondary cracking. Therefore, do not simply skim the surface.
For cracks deeper than one inch, apply the material in one-inch layers. Specifically, let each layer dry fully before adding the next pass. This prevents excessive shrinking and ensures a flush finish with the court surface.
Step 5: Weather and Temperature Requirements
Weather is the most significant variable in a successful repair. Ideally, apply the filler on a clear day when temperatures are 50°F and rising. Furthermore, ensure no rain is forecast for at least 24 hours. Finally, do not apply material if freezing temperatures (below 32°F) are expected within 96 hours. These guidelines ensure the acrylic bond reaches full strength.
Summary
Repairing your court is a manageable task if you use the right tools and follow professional protocols. By staying ahead of surface damage, you ensure a safe and professional-looking court for years to come. Explore our full range of tennis court crack repair products at Tennis Supplies and Equipment to start your project.